I was watching a coding tutorial on YouTube last year and noticed something really archaic: the guy had a block in lieu of a blinking cursor, and he seemed to be navigating the code by making the block cursor hop across the editor. The whole thing reminded me of old computers you'd see in movies; not really the pinnacle of productive setups, but he was still somehow moving around really quick. So I looked it up, and found the answer on Reddit: this guy was apparently using something called Vim. I looked up Vim on YouTube, and there I found out about NeoVim, and not really caring about the difference between the two, I started watching a Vim motions tutorial by Primeagen. He said a lot in that video, and in the videos after that as well, and trying to keep up, I started writing all the commands down in a Stickies note.
When I actually tried using Vim myself though, it was too much. It was too much of a change
from my regular IDE setup, and if I felt lost, I had to spend so much time
looking things up in the manual that it felt like Vim was doing the opposite of
what it was supposed to do: make me more productive by removing context switches
from my workflow. Still, a few things from ThePrimeagen's video stayed with me:
h, j, k, l, and command-count-motion. This was barely anything, but
with a VSCode NeoVim plugin, this was magical.
A little while later, I found out about LazyVim from someone at work.
Apparently, LazyVim installs Vim "plugins" and makes it "better". I didn't even
know what a plugin was, but I let them set it up on my work computer.
Again, it was too much. NeoVim would open in full screen, and it was just
jarring. I would never know where to go, my h, j, k, l weren't
enough, and I didn't have the patience to learn 500 keybindings just to push one
commit.
Fast forward a whole year, that Stickies note still floating on my desktop,
another coworker brings up LazyVim. In the meantime, I've fought with several
VSCode NeoVim extensions and lost. They all seemed brittle and did not work as
predictably, even for my minimal Vim repertoire. A few weeks prior, I had
accidentally deleted my whole ~/.config/nvim directory when trying to edit a
file in an entirely different project. So
when the coworker asked me what NeoVim distro I use, I had nothing. But I still
wasn't over the smooth navigation in Vim, and with Vim's third apperance in my
career of less than a year, I thought I'd give it another, serious, shot. This
time, I think something's different.
This weekend, I went all out and setup my NeoVim (managed by LazyVim) exactly the way I wanted. I obsessively went after anything that felt like an obstruction. Every color scheme ick, every default, with Claude by my side, I hammered it down. This Saturday, I'm proud to say that my NeoVim setup is perfect.
Terminal
My first thing I needed to do was see application logs beside my code. I set up a key binding to open a terminal window. I also added a setting so that it wouldn't automatically enter terminal mode when I land on a terminal buffer while switching between buffers.
vim.keymap.set("n", "<leader>ft", function()
  local git_root = vim.fn.systemlist("git rev-parse --show-toplevel")[1]
  local target_dir = (vim.v.shell_error == 0 and git_root ~= "") and git_root or vim.fn.getcwd()
  vim.cmd("terminal")
  vim.cmd("startinsert")
  vim.fn.chansend(vim.b.terminal_job_id, "cd " .. vim.fn.shellescape(target_dir) .. "\n")
end, { desc = "Terminal (project root)" })
vim.keymap.set("n", "<leader>fT", ":terminal<CR>", { desc = "Terminal (current buffer)" })
I also added a little helper keybindng that would allow me to execute one-off
shell commands by just typing <leader>xs.
vim.keymap.set("n", "<leader>xs", function()
  local cmd = vim.fn.input("Command: ")
  if cmd ~= "" then
    vim.fn.system(cmd)
  end
end, { desc = "Execute shell command" })
Editor
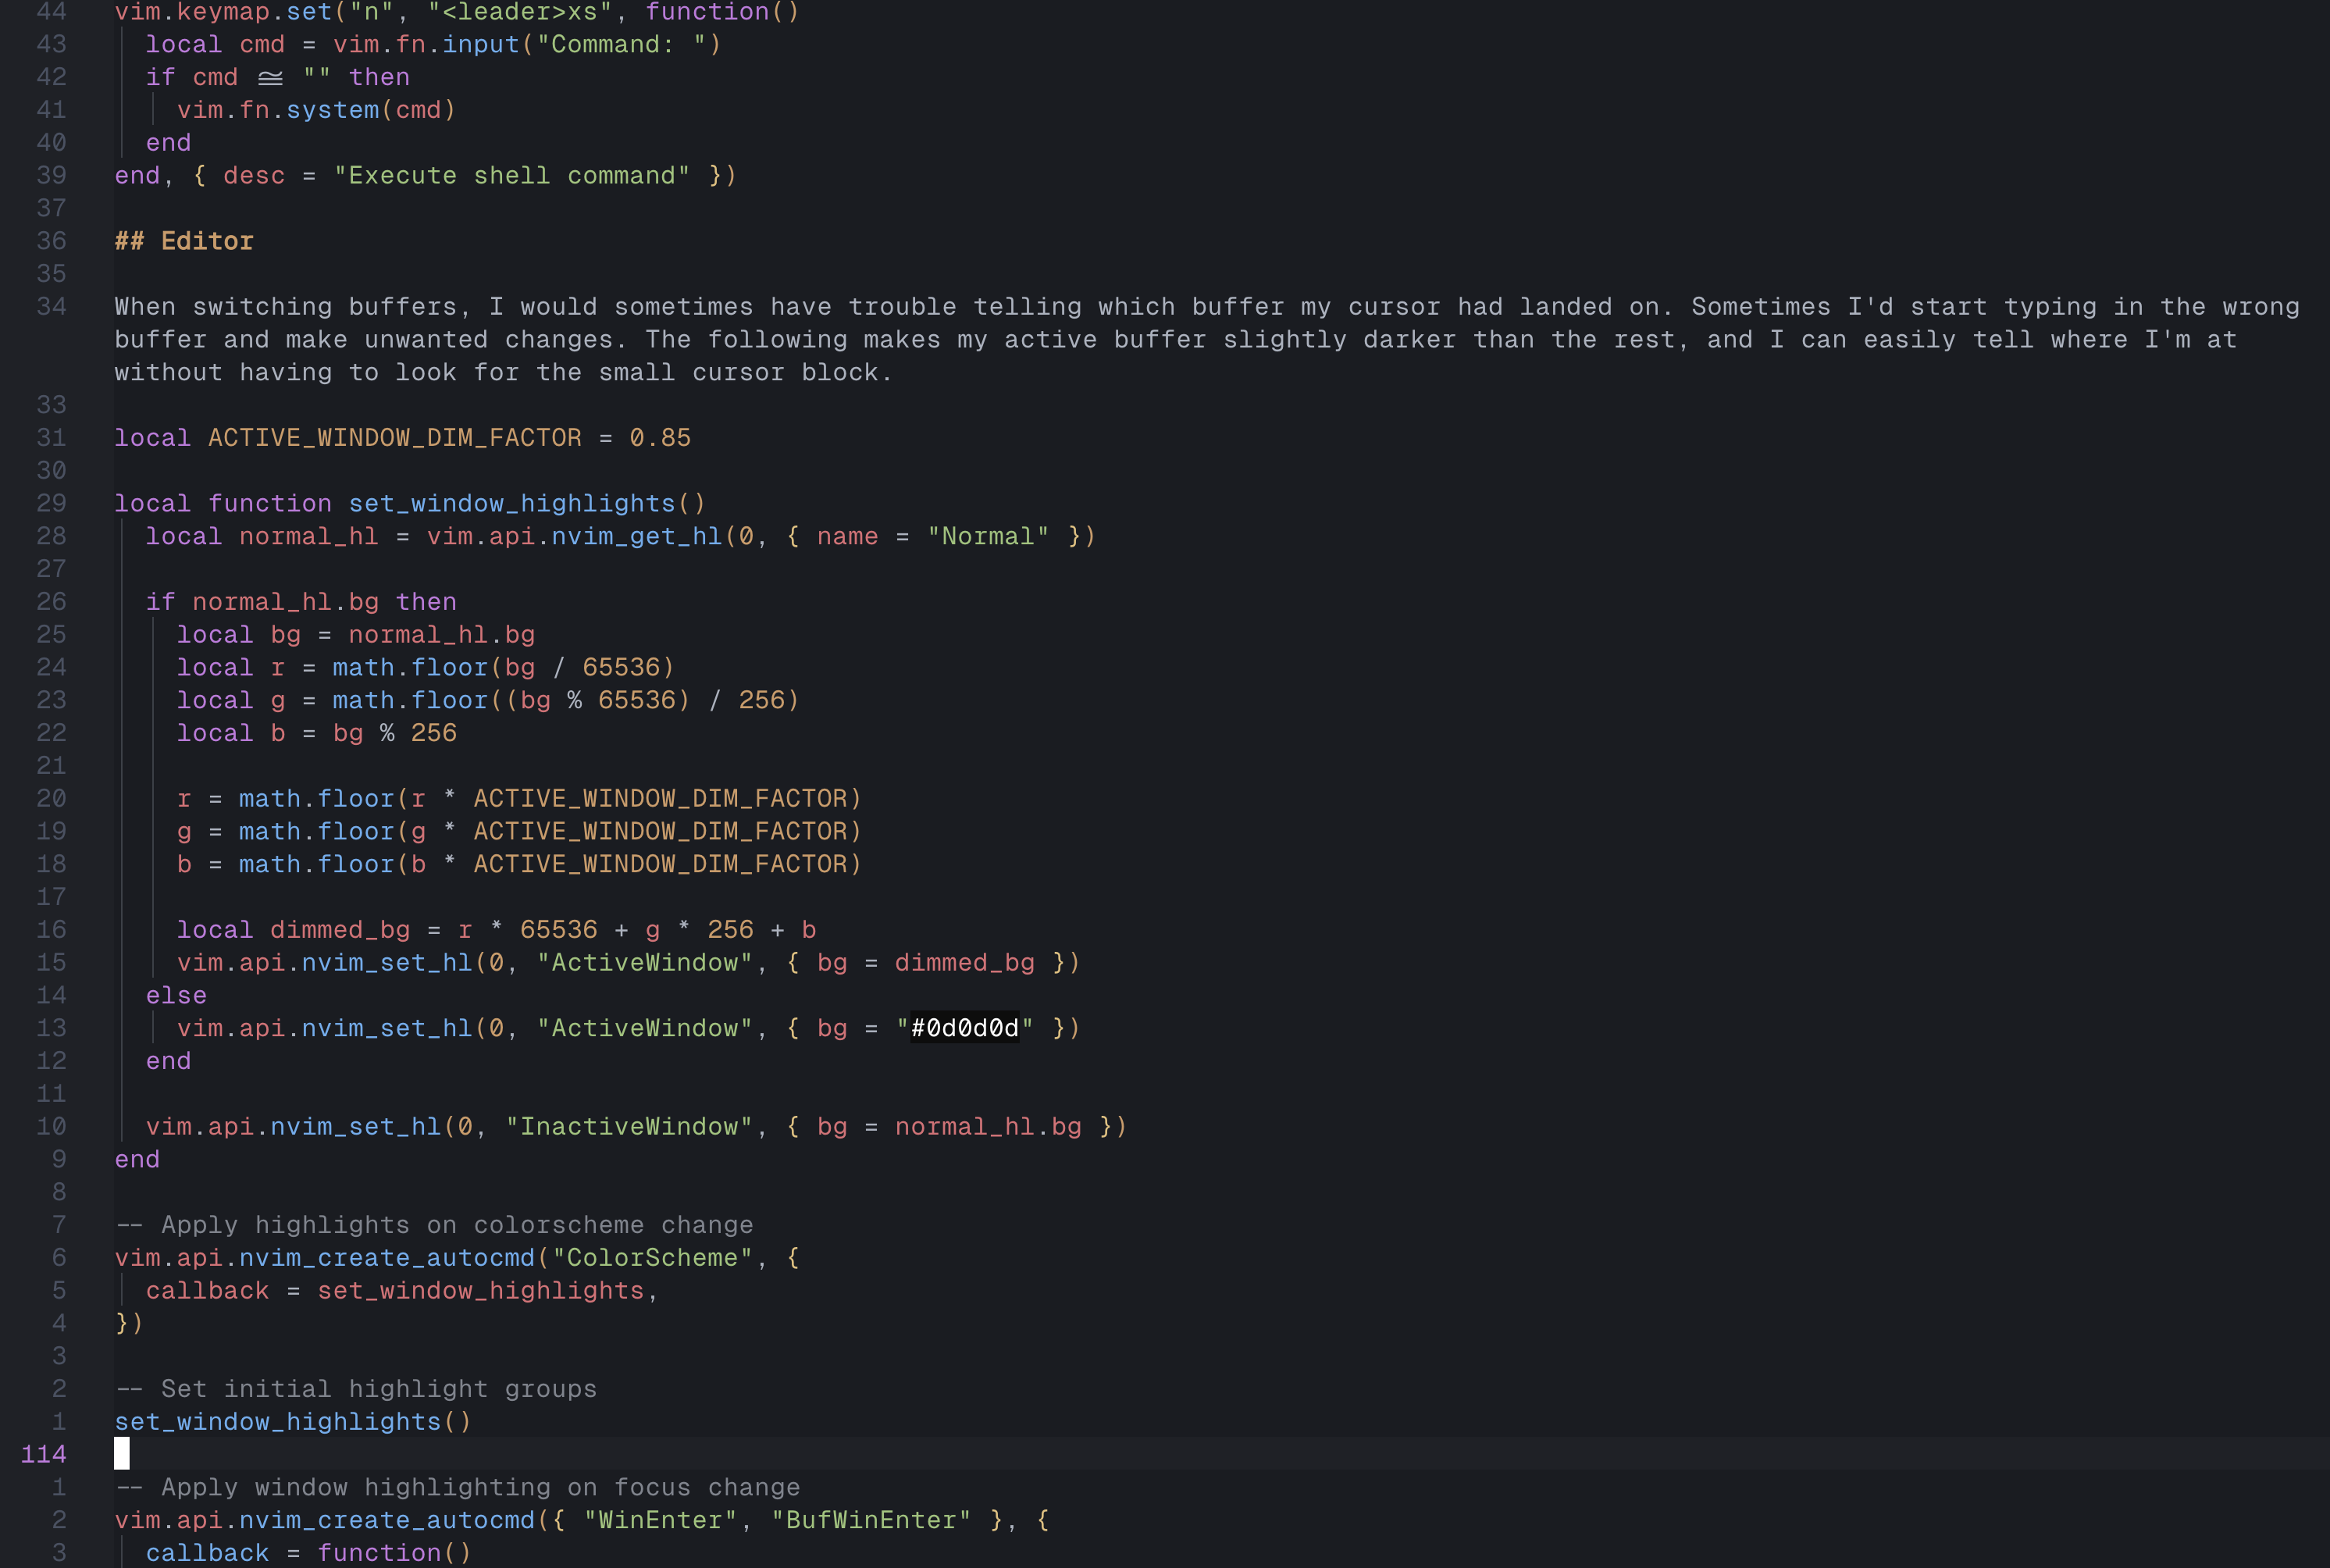
When switching buffers, I would sometimes have trouble telling which buffer my cursor had landed on. Sometimes I'd start typing in the wrong buffer and make unwanted changes. The following makes my active buffer slightly darker than the rest, and I can easily tell where I'm at without having to look for the small cursor block.
local ACTIVE_WINDOW_DIM_FACTOR = 0.85

local function set_window_highlights()
  local normal_hl = vim.api.nvim_get_hl(0, { name = "Normal" })

  if normal_hl.bg then
    local bg = normal_hl.bg
    local r = math.floor(bg / 65536)
    local g = math.floor((bg % 65536) / 256)
    local b = bg % 256

    r = math.floor(r * ACTIVE_WINDOW_DIM_FACTOR)
    g = math.floor(g * ACTIVE_WINDOW_DIM_FACTOR)
    b = math.floor(b * ACTIVE_WINDOW_DIM_FACTOR)

    local dimmed_bg = r * 65536 + g * 256 + b
    vim.api.nvim_set_hl(0, "ActiveWindow", { bg = dimmed_bg })
  else
    vim.api.nvim_set_hl(0, "ActiveWindow", { bg = "#0d0d0d" })
  end

  vim.api.nvim_set_hl(0, "InactiveWindow", { bg = normal_hl.bg })
end

-- Apply highlights on colorscheme change
vim.api.nvim_create_autocmd("ColorScheme", {
  callback = set_window_highlights,
})

-- Set initial highlight groups
set_window_highlights()

-- Apply window highlighting on focus change
vim.api.nvim_create_autocmd({ "WinEnter", "BufWinEnter" }, {
  callback = function()
    vim.wo.winhl = "Normal:ActiveWindow"
  end,
})

vim.api.nvim_create_autocmd("WinLeave", {
  callback = function()
    vim.wo.winhl = "Normal:InactiveWindow"
  end,
})
Coupled with my all-time favorite VSCode theme, Atom One Dark, this looks
incredible. The slightly darker editor looks just like the darker variant of
the VSCode theme.
Maybe even better.
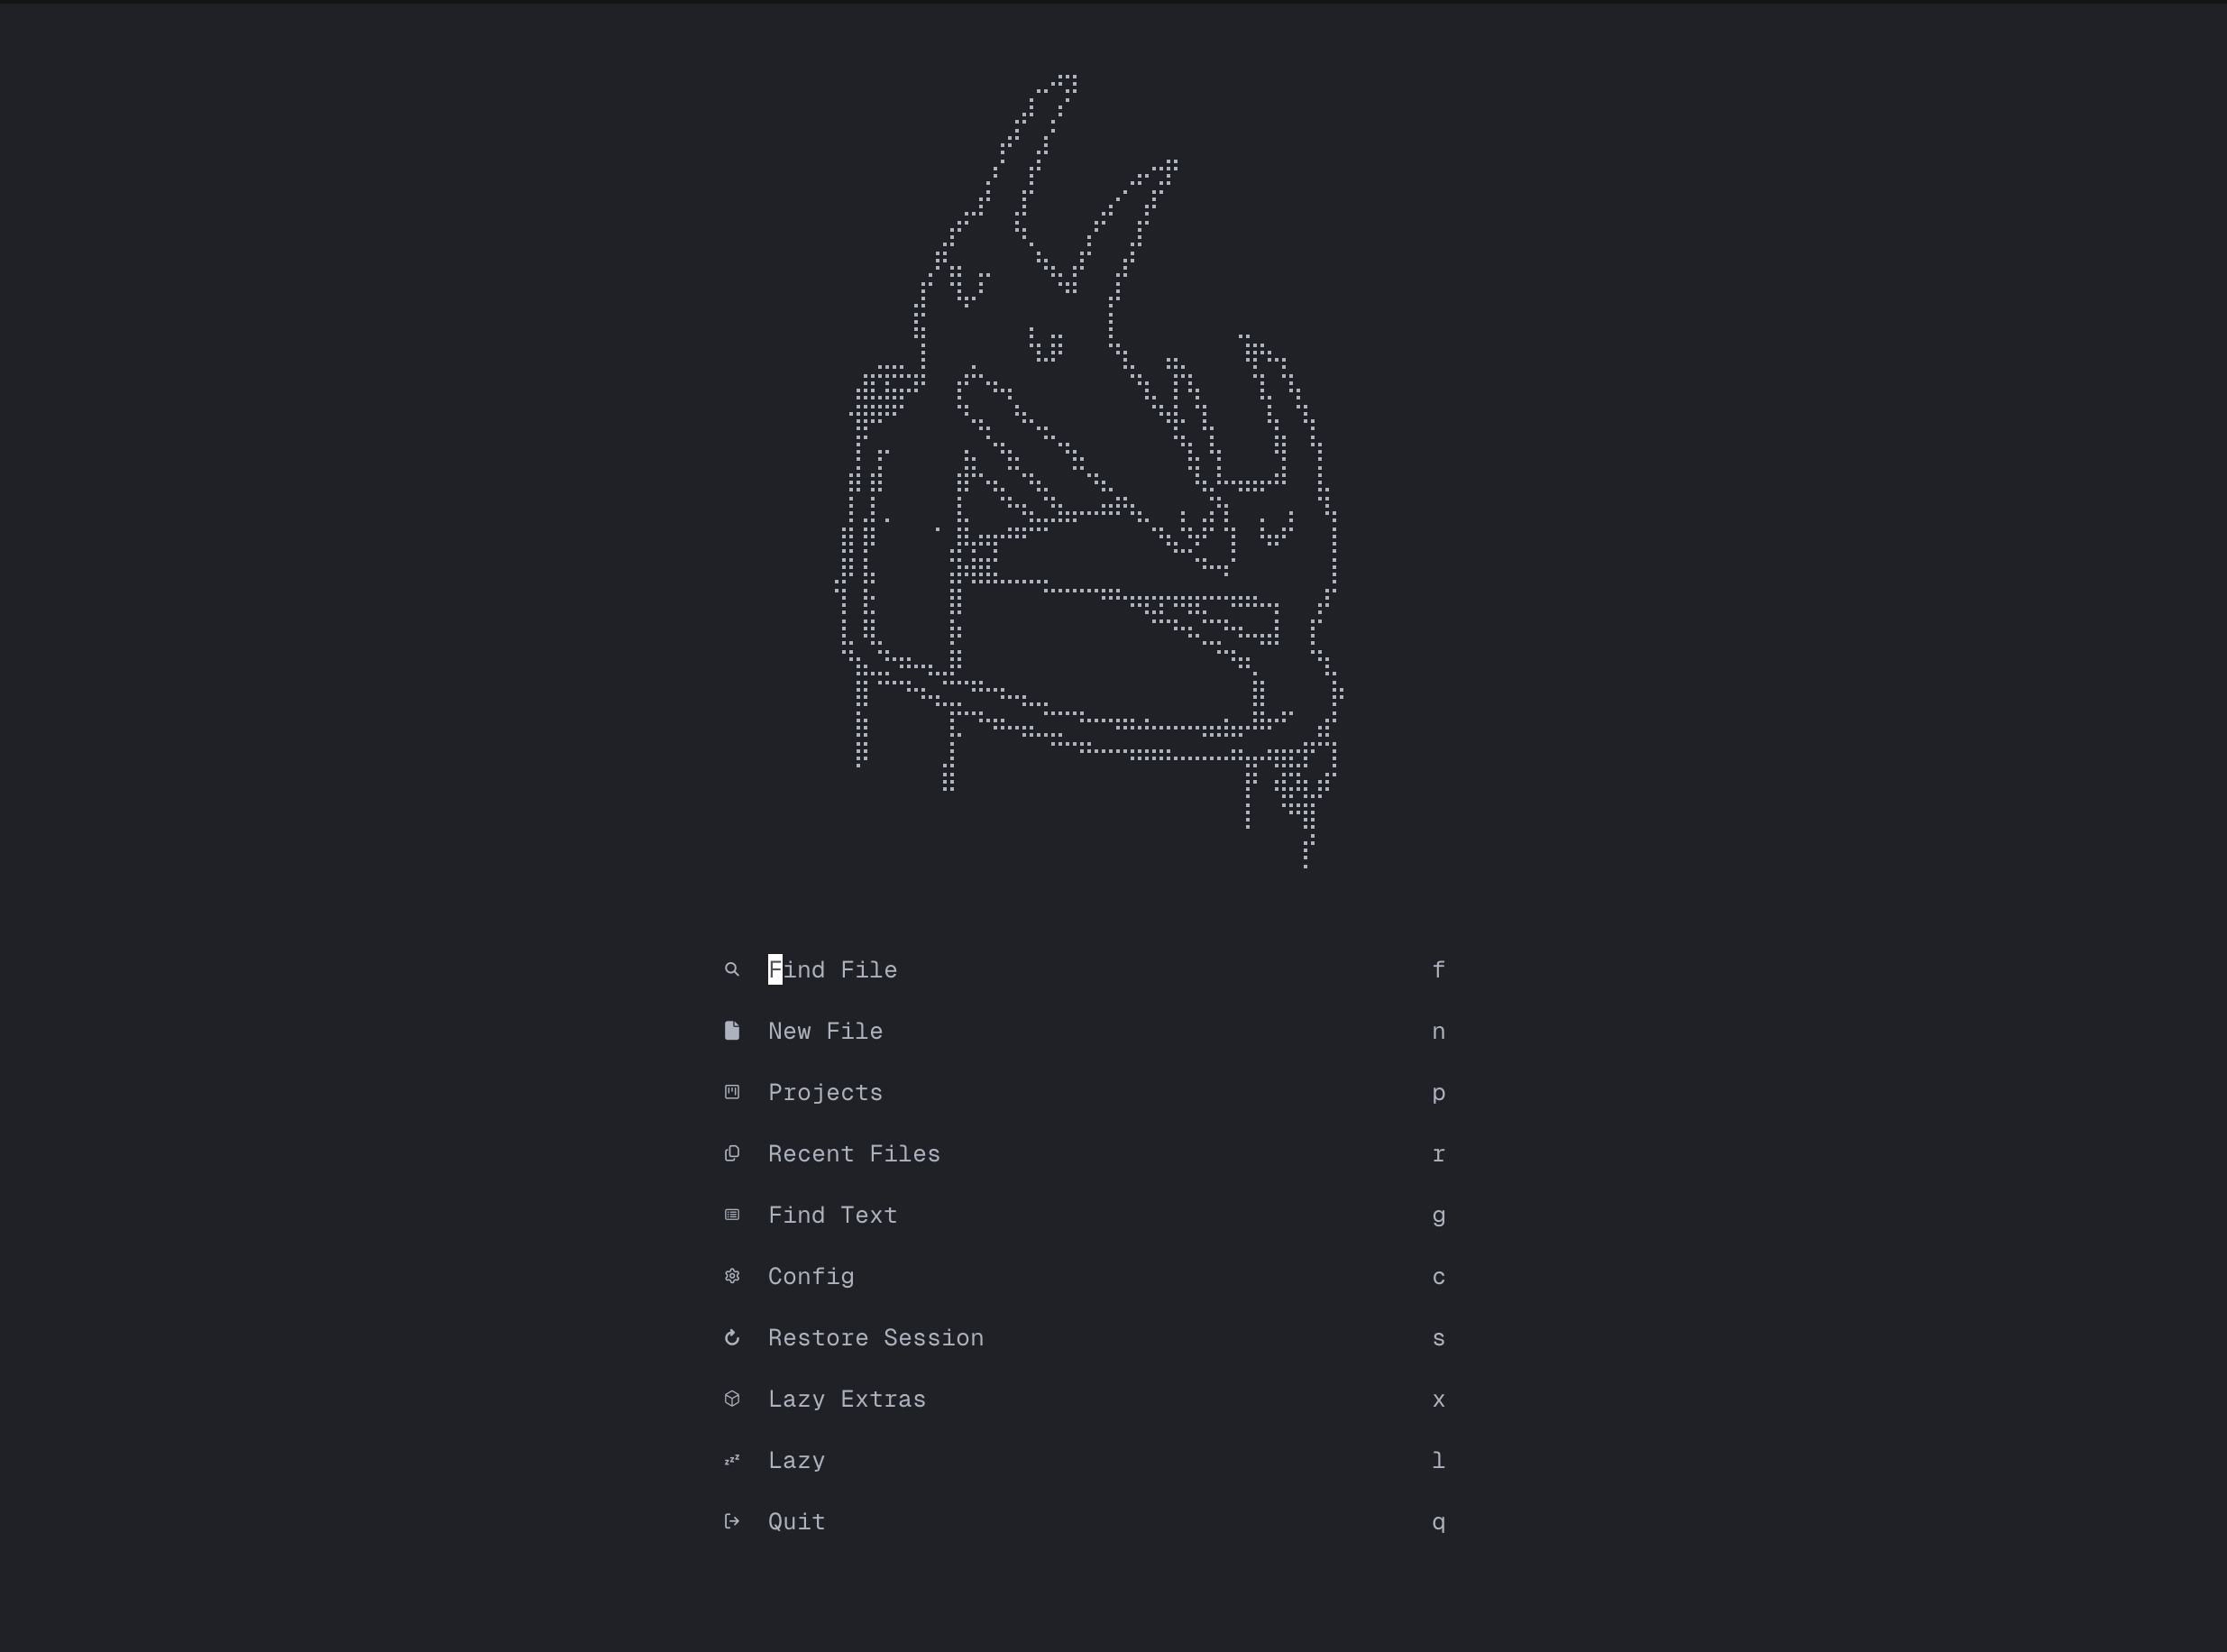
Speaking of theme customizations, I also used the nvimdev/dashboard-nvim
plugin to customize my NeoVim startup screen. It shows the cover art of my
favorite album ever, Twin Fantasy.
Two small QOL configurations here. The following 1) auto-saves when I exit insert mode, and 2) wraps my code in a really nice way, by respecting the indent levels.
vim.api.nvim_create_autocmd({ "InsertLeavePre", "TextChanged", "TextChangedP" }, {
  callback = function()
    if vim.bo.modifiable and not vim.bo.readonly then
      vim.cmd("silent! update")
    end
  end,
})

vim.opt.wrap = true
vim.opt.breakindent = truebufferline, lualine
The bufferline plugin shows open buffers in a nice tab-like UI, and it even
offsets itself against certain other buffers, such as snacks.nvim/picker.
return {
  "akinsho/bufferline.nvim",
  version = "*",
  dependencies = "nvim-tree/nvim-web-devicons",
  opts = {
    options = {
      separator_style = "slant",
    },
  },
}
I modified the config to slant the buffers a little bit as well.

The lualine plugin shows the bar at the bottom.


I modified it to show the different modes in RGBY, since I'm a big fan of the Mondrian paintings.
return {
"nvim-lualine/lualine.nvim",
event = "VeryLazy",
config = function()
-- stylua: ignore
local colors = {
insert_mode_bg = '#4a90e2',
visual_mode_bg = '#f5d142',
inactive_bg = '#080808',
fg = '#c6c6c6',
replace_mode_bg = '#e74c3c',
normal_mode_bg = '#2ecc71',
secondary_bg = '#303030',
}
local bubbles_theme = {
normal = {
a = { fg = colors.inactive_bg, bg = colors.normal_mode_bg },
b = { fg = colors.fg, bg = colors.secondary_bg },
c = { fg = colors.fg },
},
insert = { a = { fg = colors.inactive_bg, bg = colors.insert_mode_bg } },
visual = { a = { fg = colors.inactive_bg, bg = colors.visual_mode_bg } },
replace = { a = { fg = colors.inactive_bg, bg = colors.replace_mode_bg } },
inactive = {
a = { fg = colors.fg, bg = colors.inactive_bg },
b = { fg = colors.fg, bg = colors.inactive_bg },
c = { fg = colors.fg },
},
}
require("lualine").setup({
options = {
theme = bubbles_theme,
component_separators = "",
section_separators = { left = "", right = "" },
},
sections = {
lualine_a = { { "mode", separator = { left = "" }, right_padding = 2 } },
lualine_b = { "filename", "branch" },
lualine_c = {
{
function()
local gitsigns = vim.b.gitsigns_blame_line
if gitsigns then
return gitsigns
end
return ""
end,
icon = "",
},
"%=",
},
lualine_x = {},
lualine_y = { "filetype", "progress" },
lualine_z = {
{ "location", separator = { right = "" }, left_padding = 2 },
},
},
inactive_sections = {
lualine_a = { "filename" },
lualine_b = {},
lualine_c = {},
lualine_x = {},
lualine_y = {},
lualine_z = { "location" },
},
tabline = {},
extensions = {},
})
end,
}Git
For a smooth Git workflow, I installed several plugins. You can already see one in the lualine config, gitsigns, which shows the git blame in my lualine. LazyVim comes with lazygit, which opens in a nice floating window.

I use shell commands for almost all git operations, but this is nice for seeing a visualization of reflog.
For seeing diffs, I use 'sindrets/diffview.nvim', which shows the git git diff in a nice GitHub style UI.
The other useful plugin is 'johnseth97/gh-dash.nvim', which integrates the gh-dash TUI into NeoVim, and it shows pull requests in a floating window, similar to lazygit.
Conclusion
My NeoVim configuration, like everyone else's, is a living, breathing artifact. I just wanted to showcase a few special tricks I currently have up my sleeve. If you'd like to see my full setup, visit the GitHub repository. Currently, main is at 48 commits. Maybe I'll check back in a few years and see how far I'll (hopefully) have come!